
What’s not to love about rustic pieces? They add character and bring a little of the outdoors to your home. Its traditional warmth makes any piece became an interesting focal point in any room.
When rustic décor comes to mind, most people think about a cabin in the woods, cozy and unrefined, or that’s how hipsters decide to decorate their homes. The unpolished, natural looking pieces remind us of simpler times, before furniture and home decoration stores started to pop up everywhere with shiny mass-produced items.
Fortunately, you don’t need to turn your home into a cabin in order to get that homey feeling. Just adding a few rustic pieces here and there will do the trick.
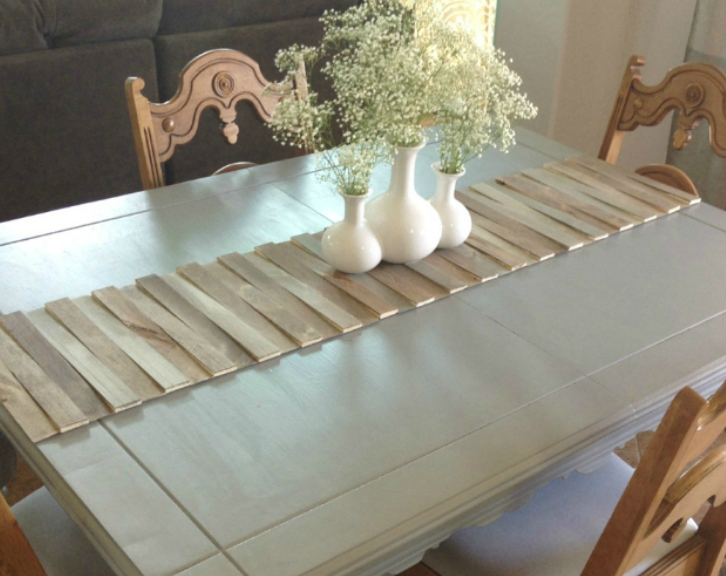
This Table Runner is a simple DIY project that can be done in a little amount of time and will add a unique charm to your dining room table.
For this project, you’ll need wood shims, an inexpensive material that’s easily found in the lumber section of home improvement stores. They are lightweight and are normally used to fill small gaps and spaces between objects.
Rachele from PopularWithThePoplins created this rustic table runner that will look good year-round.
To create this gorgeous Table Runner you’ll need:
- Contractor pack of wood shims
- Wood stain of choice
- Paintbrush
- Hot glue gun
- Hot glue sticks
- Measuring tape
- Canvas drop cloth (or any fabric you might have at hand)
- Scissors
How To Make It:
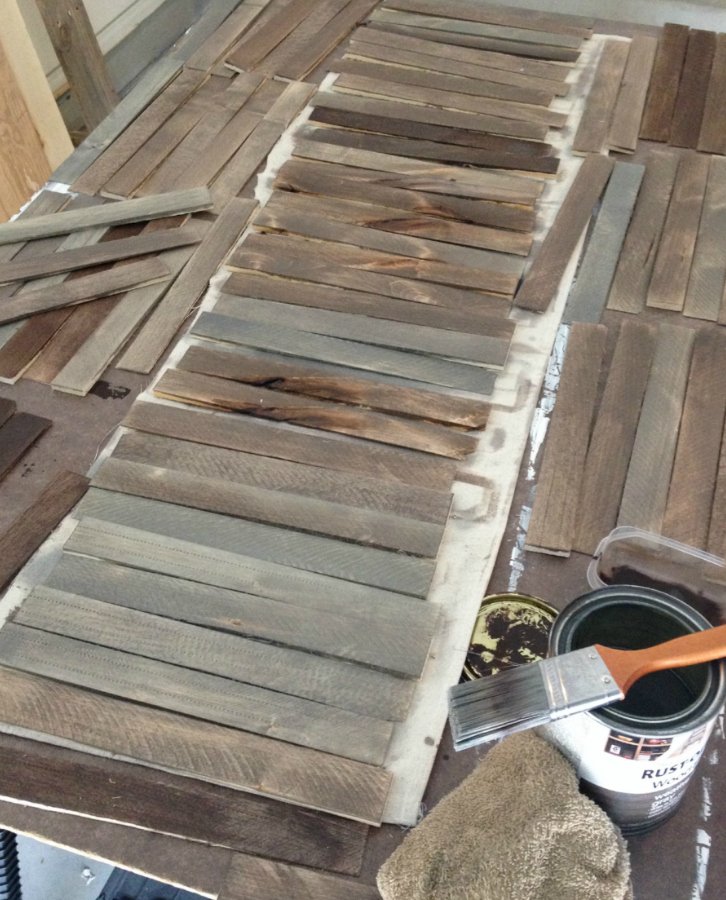
Start by staining the shims. Using a brush, coat the shims with the wood stain and let it dry.
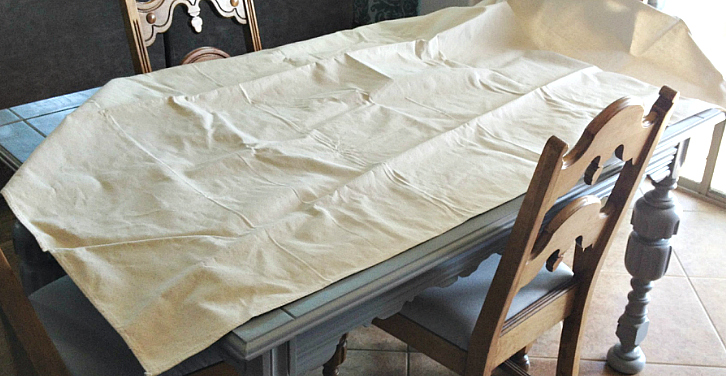
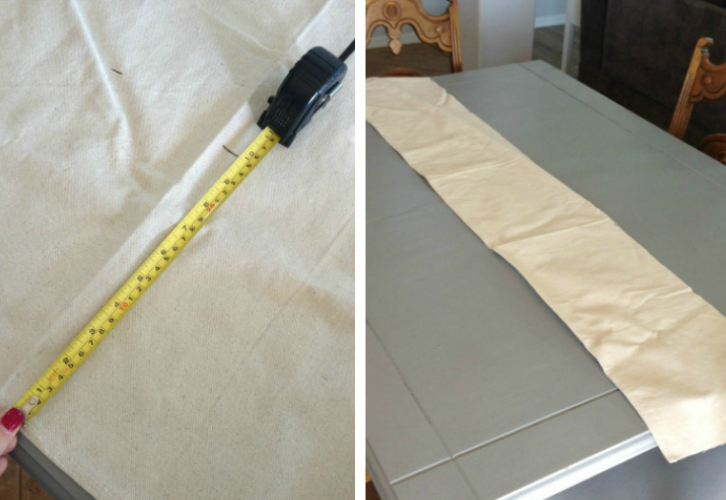
While the shims dry, cut the fabric the length you want the table runner to be, making sure you cut enough so the fabric doesn’t show.
Once the shims are dry, lay them on top of the fabric. Since shims are thicker on either end, make sure you alternate their direction so it gives it a little dimension.
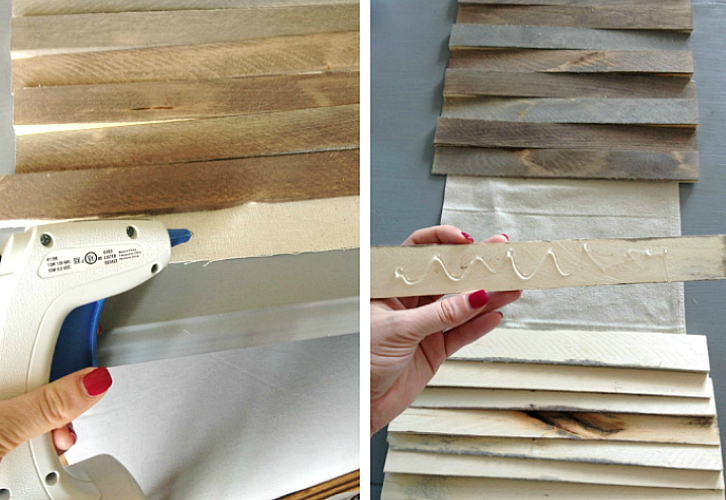
With a glue gun, glue the bottom side of the shims to the cloth. Let it dry.
What do you think of this easy DIY project? Please SHARE with your friends on Facebook!


