
Parents of small children know better than to leave pens and markers laying around the house. The in-house artists are attracted to those markers like magnets and will make sure they leave traces of their ”art” anywhere they see fit to express their creativity.
Understandably, we tend to get mad at them, since it’s a lot of work to try to remove permanent markers from a newly painted wall, but our little ones don’t understand that just yet. They just look at us as ignorant people that can’t understand the beautiful thing they just created, and apparently, we can’t understand their art concept.
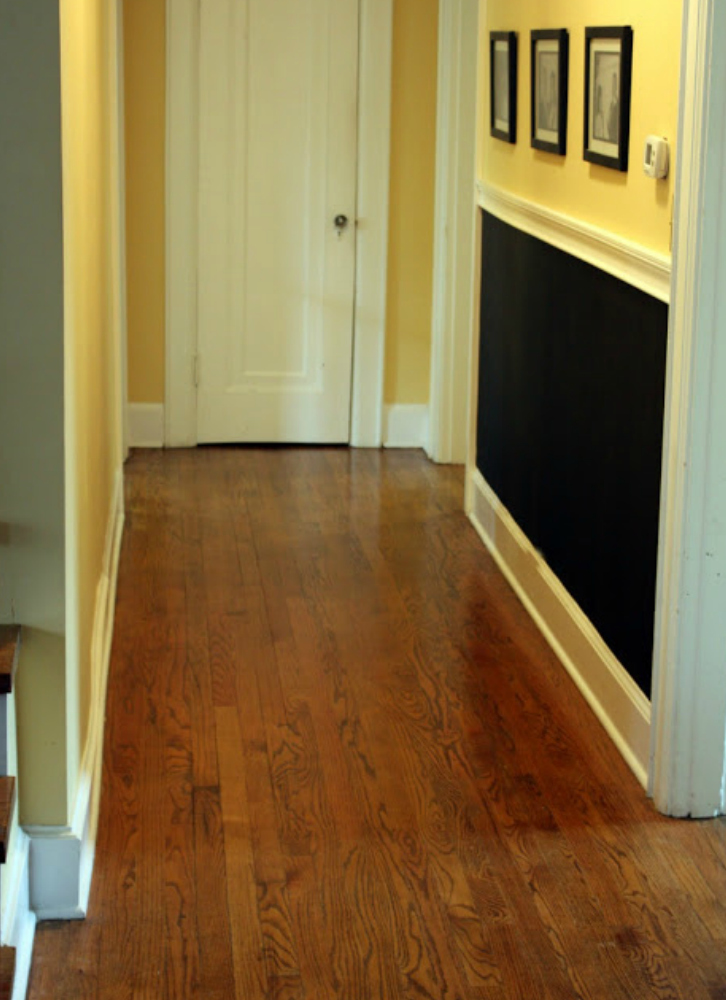
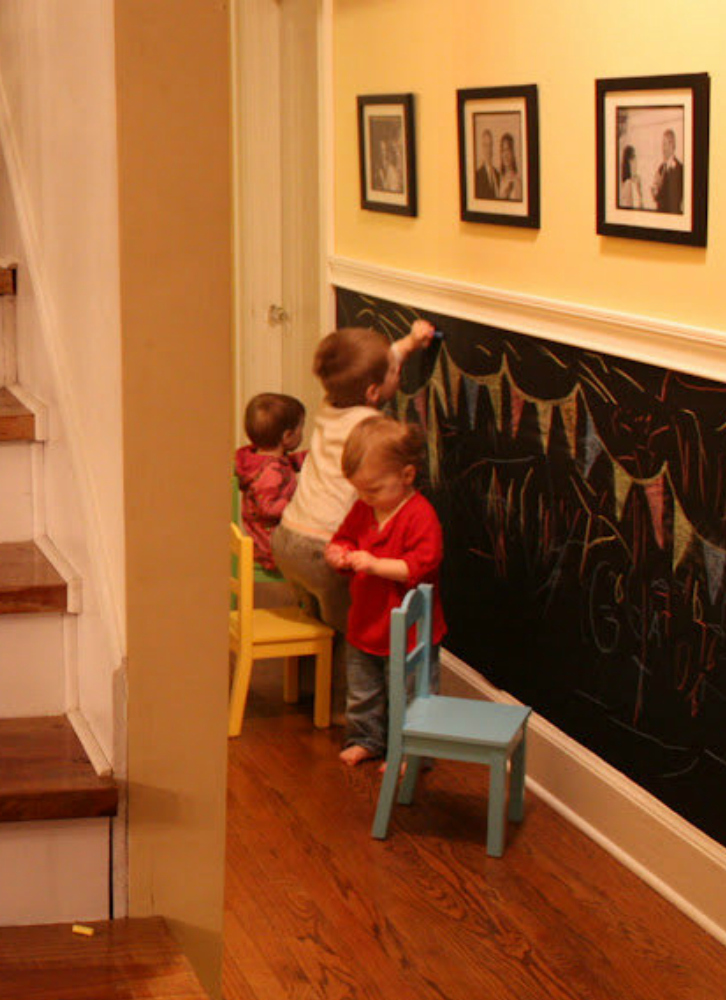
Kellie, from Nest of Posies, came up with a great and super fun idea of utilizing the wall of an underused part of her house where her kids could draw and scribble to their heart’s content – the hallway!
The whole project is very inexpensive and easy to make.
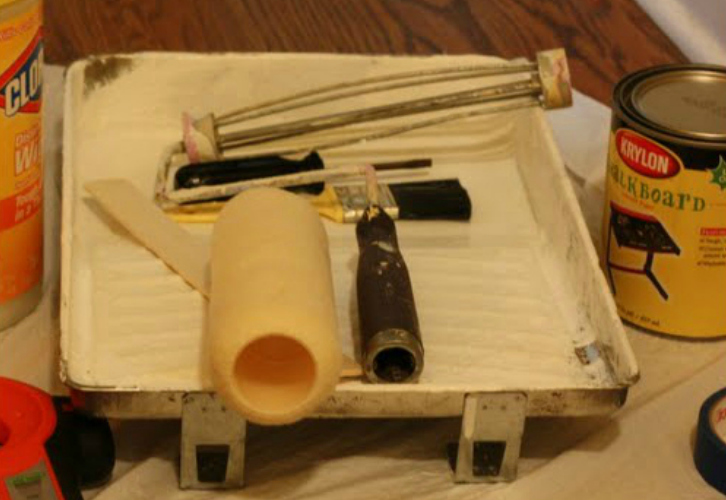
This is What You’ll Need
- Sandpaper
- Painter’s Tape
- Paintbrush
- Paint Roller
- Chalkboard Paint (or more, if needed)
- Molding (to ‘frame’ the chalkboard painted area and form a boundary)
How to Make It
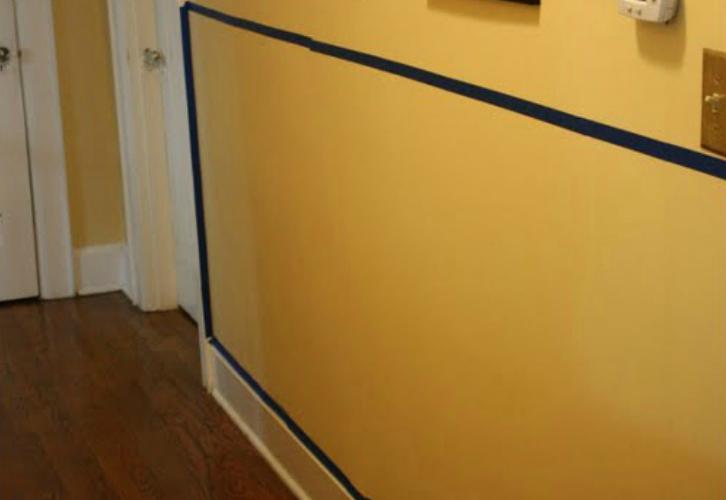
Step 1 – Prep The Wall
Measure the wall and cut the molding to the specific dimensions. Clean up the area you wish to paint over. If needed, remove any nails or screws and fill it. Let it dry.
Even though chalk paint is known for being a no-prep paint, if the wall you’re planning to use has a glossy finish to it, apply a coat of primer first and let it dry. Otherwise, sand the whole area and wipe it clean. The surface has to be completely smooth before applying any paint over it to ensure a chalkboard with no bumps in it.
Step 3 – Install the Molding
Remove painter’s tape and install molding.
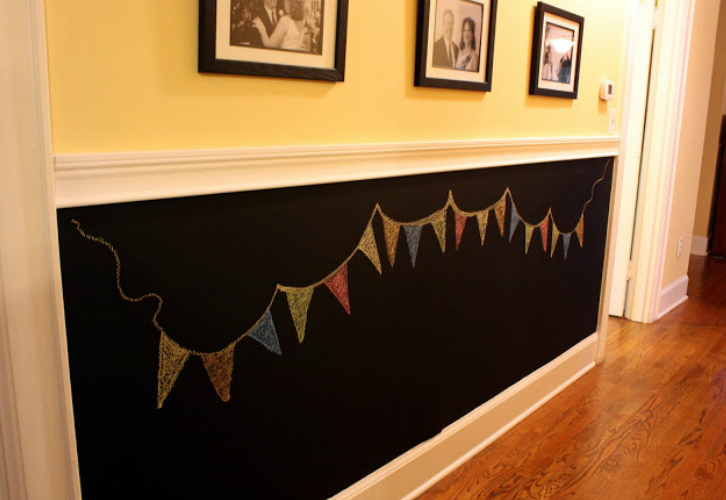
Step 4 – Season the Wall
To make sure your newly painted wall lasts, you’ll need to season it. Just go over it with a piece of chalk on its side and go over the whole painted surface. Erase it all and the chalkboard is ready to be used.
Step 5 – Storage of Chalks and Erasers
Make sure you have a caddy nearby the chalkboard to store various colors of chalk and erasers, so your little artist can have it handy when inspiration strikes!
Please SHARE with your friends on Facebook!


